- Home
- Children's Corner
- Paper Garden Craft for Kids
Free Printable Paper Garden Craft for Kids
How Does Your Garden Grow?
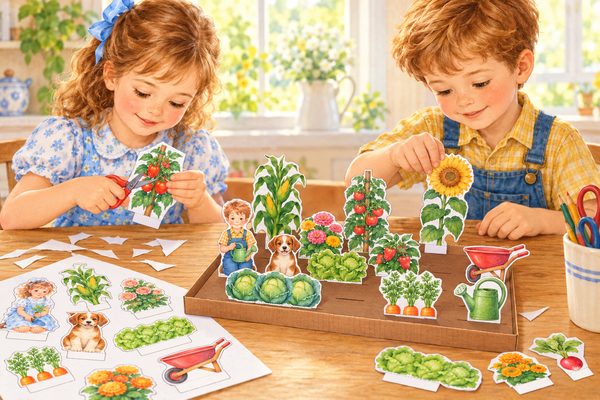
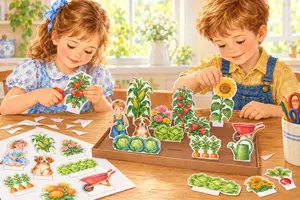
This paper garden craft for kids turns three printable pages into a little raised-bed garden that stands up on the table. Children cut out tomatoes, corn, sunflowers, peas, peppers, pumpkins, carrots, radishes, lettuce, cabbage, and summer flowers, then push each one into a slit in the garden bed. Two little gardeners, a puppy, a kitten, a wheelbarrow, a watering can, and a blank garden sign come along to help.
There is no right way to plant it. One day the corn and sunflowers stand in the back row like a real garden. The next day the puppy is sitting in the pumpkin patch. Pull everything out and plant a brand-new garden as often as you like.
I tested this craft at my own dining room table, and it was so much fun to see the garden stand up for the first time. The cutting takes a while, so plan it as a grown-up-and-child project.
Ages: 4 to 7 with a grown-up helping. Children 7 and up can cut out most of the pieces themselves.
Time: About an hour for a grown-up to cut out everything. With little helpers, spread it over two sittings, then play with it for weeks.
What you get: A free 3-page PDF with the garden bed and 23 stand-up pieces. Print as many copies as you need for your family or classroom.
Your second block of text...
Print the Free Paper Garden Craft for Kids
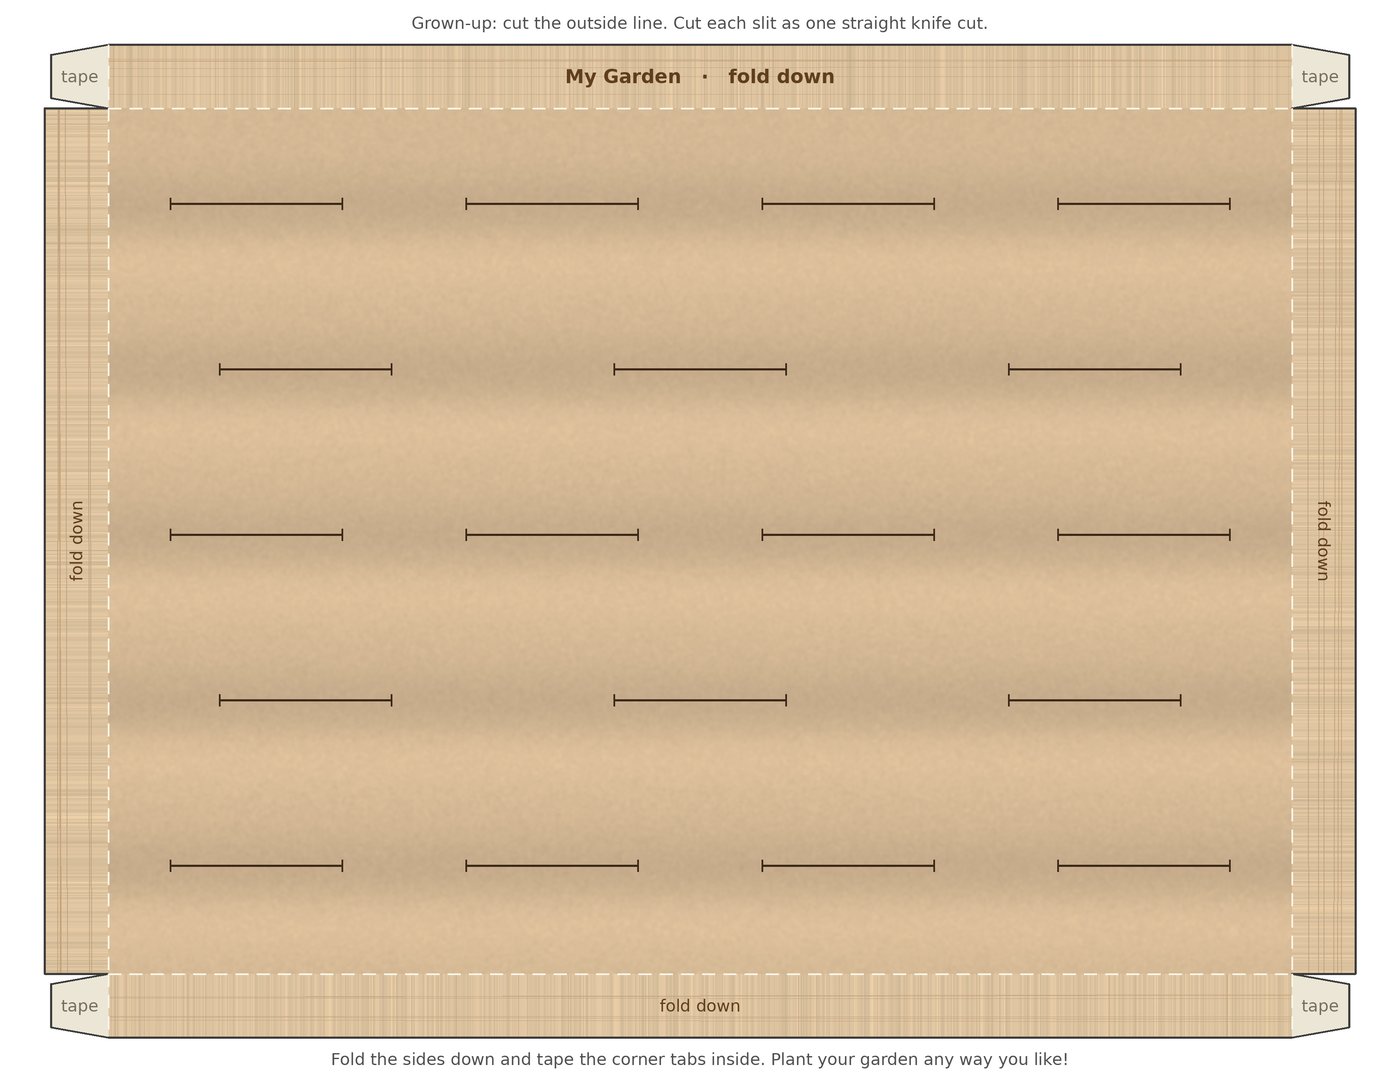
Page 1: Garden Bed
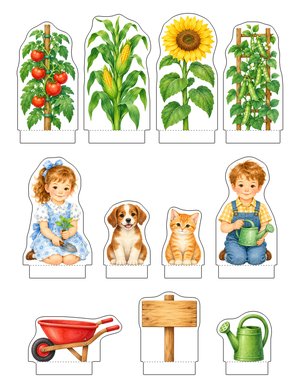
Page 2: Tall Plants and Friends
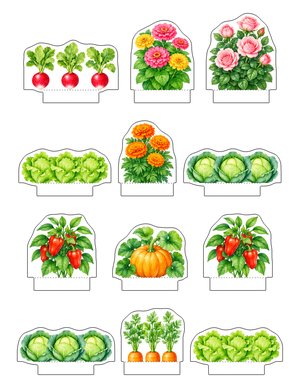
Page 3: Vegetables and Flowers
Print the free paper garden (3 pages, PDF)
Printing tip: Print on white cardstock (65 to 110 lb) so the pieces stand up straight.
Set your printer to High quality and Actual size (100%).
Page 1 prints sideways (landscape).
For a bigger garden, print page 1 twice and set the two beds side by side.
What You'll Need
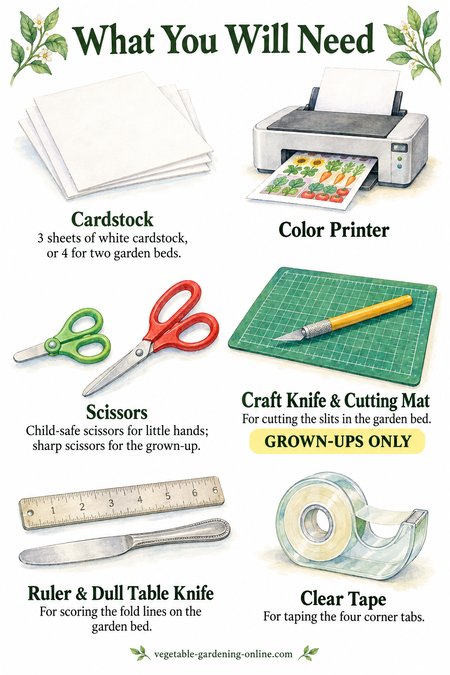
Cardstock: 3 sheets of white cardstock, or 4 if you want two garden beds.
Color printer: Set to High quality.
Scissors: Child-safe scissors for little hands, and sharp scissors for the grown-up.
Craft knife and cutting mat: An X-Acto knife or a box cutter on a silicone mat, for cutting the slits in the garden bed. This part is for grown-ups only.
Ruler and a dull table knife: For scoring the fold lines on the garden bed.
Clear tape: For taping the four corner tabs.
How to Make the Garden Bed
The garden bed is a grown-up job, but children love to watch it stand up at the end.
Step 1: Cut it out. Cut along the solid gray line around the outside of page 1, including the four small "tape" tabs at the corners.
Step 2: Score the fold lines. Lay a ruler along each dotted fold line and press hard with the back of a dull table knife as you draw it along the ruler. I found this makes all the difference. Without scoring, the cardstock is very hard to fold evenly on the dotted lines.
Step 3: Cut the slits. Lay the bed flat on a silicone mat. With an X-Acto knife or a box cutter, make one straight cut along each slit line, from one small end mark to the other. Do not cut out a strip; a single cut holds the pieces snugly so they stand up straight.
Step 4: Fold down the sides. Fold all four wooden sides down along the scored lines, so the bed stands about half an inch off the table.
Step 5: Tape the corners. Fold each "tape" tab in behind the short side next to it and tape it on the inside. Now the bed is ready for planting.
Cut Out the Garden Pieces
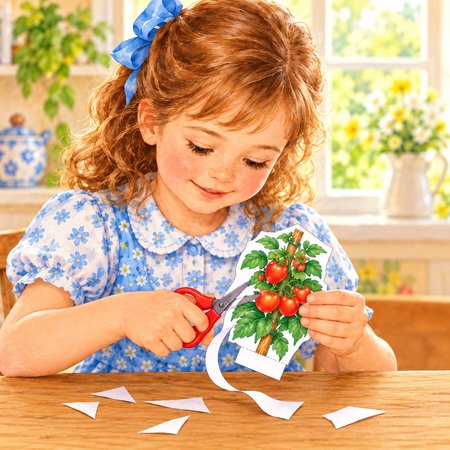
Each piece of this paper garden craft for kids has a smooth outline with no tiny bumps, so it is easy to cut, even for little hands.
Leave the tab on: The white tab at the bottom of each piece is what goes into the garden bed. Cut around it; don't cut it off.
The dotted line: The dotted line across the top of each tab shows how far to push it into the slit.
Helping hands: Younger children can cut the shorter pieces, like the lettuce, cabbage, and pumpkin. A grown-up can cut the tall plants and the children.
Plant Your Garden
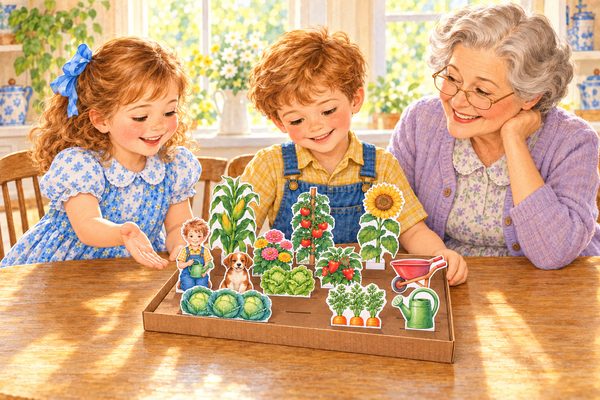
Now comes the fun part. Push each tab straight down into a slit, up to the dotted line. There is no planting plan; every child gets to design their own garden.
Tall plants: Corn, sunflowers, tomatoes, and peas look best in the back row, just like in a real garden, so they don't hide the shorter plants.
Wide pieces: The lettuce, cabbage, radishes, and wheelbarrow are extra wide. Put them in the rows with 3 slits, where there is room for two wide pieces side by side.
The garden sign: The sign is blank, so children can write their own garden name on it, like "Emma's Garden" or "Grandma's Garden."
Extra pieces: There are more pieces than slits, so there is always something to swap in. Pull the pieces out and plant a new garden any time.
Our Test Garden
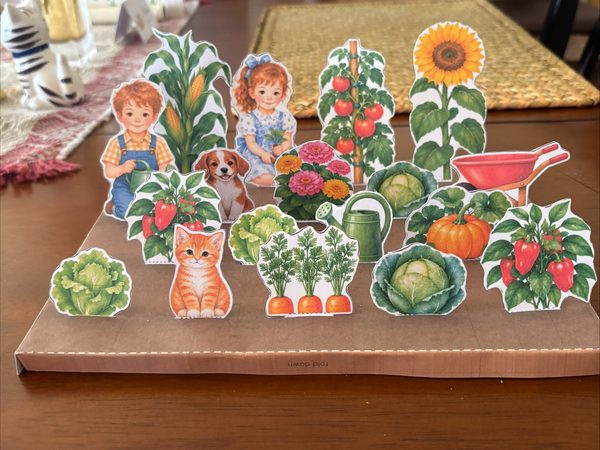
This is the very first paper garden I printed and put together.
After testing it, I made the soil lighter to save printer ink, made the tabs wider so the tall plants stand up straight, and smoothed all the outlines so they are quicker and easier to cut.
The free printable on this page has all of those changes.
Garden Talk While You Play
While children plant their paper garden, it's a good time to talk about how a real garden grows.
Underground or above? Carrots and radishes are roots, so the part we eat grows under the soil. Lettuce and cabbage are leaves, and tomatoes, peppers, and pumpkins are fruits that grow from flowers.
Who needs help standing up? Tomatoes need a stake, and peas climb up a trellis with little curly tendrils. Corn and sunflowers grow tall all on their own.
Who needs the most room? A pumpkin vine can spread across a whole garden bed, so it needs plenty of space.
Why plant flowers? Marigolds and zinnias bring bees and butterflies to the garden, and the bees help many vegetables make fruit.
For more ways to explore a real garden with children, KidsGardening.org has a good collection of garden activities for families and teachers.
More Garden Activities for Kids
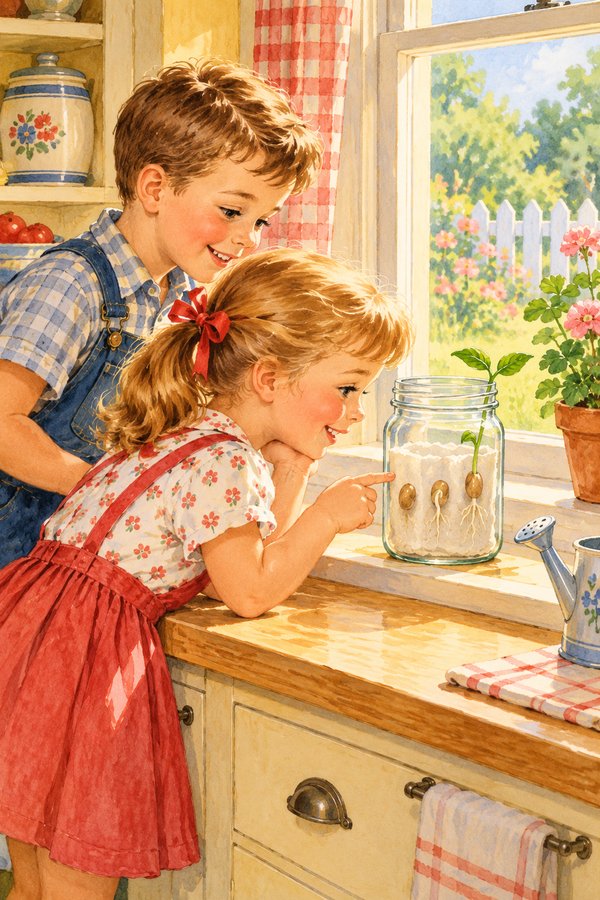
Bean in a Jar Experiment: Watch a real bean sprout on your windowsill.
Ben's Year in the Vegetable Garden: A free picture story about a boy and his garden, all year long.
Vegetable Garden Cut and Paste Activities: More free printables to cut, sort, and paste.
Kids Gardening: All of our free garden activities for children in one place.

Recent Articles


-
Paper Garden Craft for Kids: How Does Your Garden Grow? Free Printable
Oct 15, 26 11:05 AM
 Free printable paper garden craft for kids: cut out plants, children, a puppy, and a kitten, then plant them in a paper raised bed that stands on the table.
 -
How to Ripen Green Tomatoes Indoors
Oct 14, 26 04:11 PM
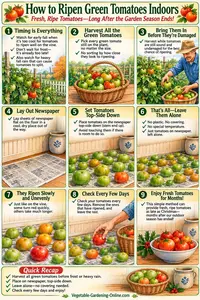
 Ripen green tomatoes indoors with a simple newspaper method. Learn when to pick, where to place them, and how to keep fresh ripe tomatoes coming for weeks.
 -
Free Vegetable Garden Printables — Downloads for Every Gardener
Oct 14, 26 12:29 PM
 Browse our complete library of free vegetable garden printables, from planning worksheets and growing charts to kids' activities, all free to download & print.
 -
Free Printable Return Address Labels: Garden and Christmas
Oct 14, 26 12:11 PM
Free printable return address labels with watercolor garden and Christmas designs. Type your address, pick a picture, and print on Avery 5160 label sheets. -
Free Printable Gift Stickers: Christmas and Garden Designs
Oct 14, 26 11:58 AM
Free printable round gift stickers with watercolor garden and Christmas pictures. Add a message or To and From, and print on 2-inch labels at home. -
Free Printable Place Cards: Thanksgiving, Christmas, and Parties
Oct 13, 26 01:46 PM
Free printable place cards for Thanksgiving, Christmas, birthdays, tea parties, and garden parties. Type your guest list, pick a picture, and print. -
Free Printable Garden Stationery: Gardening Letter Paper & Note Cards
Oct 13, 26 09:58 AM
Free printable garden stationery: watercolor letter paper, lined and unlined, plus folded note cards with garden, fall, and Christmas scenes. Print at home.