Canning Vegetables, How to Can Vegetables Using Pressure Canning

Complete tips for canning vegetables at home. How to prepare garden vegetables for canning, canning supplies needed, and how to preserve vegetables using the pressure canning method.
Despite the convenience of freezing foods, canning still remains a mainstay of many home vegetable gardeners who store a good deal of their garden's produce.
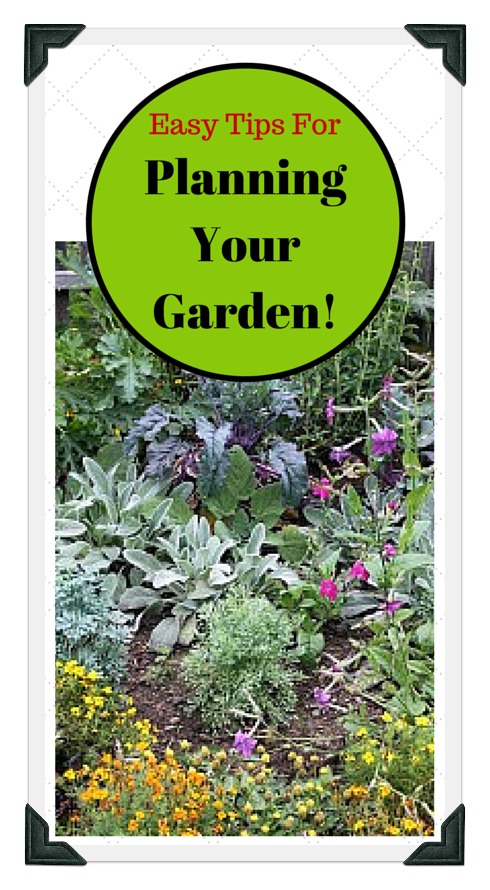
Design Your Own Vegetable Garden Layout Using our Free "Vegetable Garden Planner" Software!
Canning vegetables cost less than freezing because canned foods require no additional expense for electricity to keep them preserved.
The jars are just sitting pretty in storage for free until needed and you do not have to worry about freezer burn, or losing electric power to your freezer!
Rows of glass jars filled with delicious home-processed foods are both pleasing to the eye and easy to select from when you are choosing items for dinner.
Pressure Canning Vegetables

Download Free Garden Planning Worksheets, Garden Diary, Zone Chart, Or Planting Guide
This is the safest method for pressure canning vegetables.
- Your steam pressure canner must have an accurate dial gauge so you can be absolutely certain of the pressure inside the cooker.
- Your food needs to reach and hold the temperature of 240 degrees, attained at 10 pounds of pressure for safe processing.
- Processing pressure is calculated at sea level.
- At altitudes above 2,000 feet, processing in a pressure canner requires that you use a higher pressure to bring the internal temperature up to the necessary 240 degrees.
- Successfully canning vegetables depends on exact timing as well as on correct pressure so processing times must be followed exactly.
Additional Canning Supplies Needed
Besides your pressure cooker equipped with a rack and an accurate dial gauge, you will need to have on hand:
- Large Pressure Cooker
- Mason jars
- Dome lids to fit size jar you are using
- Jar lifter, strong tongs, or sturdy potholders to lift filled jars
- Timer
- Cooling rack

- Wide mouth funnel
- Ladle and slotted spoon
- Colander
- Wire basket
- Measuring cups and spoons
- Clean dry kitchen or bath towels
Preparation for Pressure Canning Vegetables

Wash all supplies for canning vegetables thoroughly with soap and hot water. Keep jars and lids in hot water, if you will be using them promptly. If not, reheat them in hot water just before use.
Prepare the vegetables to be canned by washing and trimming.
Fill your jars with the food to be processed.
You can "cold pack" the raw vegetables or "hot pack" them by heating or partially cooking prior to filling the jars.
For both hot and cold pack methods there should be liquid in the jar, usually to a level near the top.
There will be specific directions for each food when canning vegetables.
How to Can Vegetables Using Pressure Canning

Preparing for Canning
Once your food has been packed in the jars, tighten the lids on the jars firmly.
Place the canning rack inside the canner.
Set the canner on the stove and pour in about 2 inches of boiling water for hot packed jars or 2 inches of hot water for cold packed foods.
Beginning of Heating Process
Set the filled, covered jars on the rack inside the canner.
Lock the pressure cooker lid on securely.
Vent the canner by leaving the steam vent open, with the canner on high heat, until steam has escaped for 10 minutes.
Pressurizing
Afterward, place the counterweight gauge over the vent to begin the process of pressure canning the vegetables.
The canner will pressurize in 3 to 10 minutes.
Start the timer when the dial gauge indicates that the pressure reading your recipe calls for has been reached.
Maintain the correct gauge pressure by regulating the heat.
Depressurizing Procedure
At the end of the processing time, immediately remove the canner from the heat.
Do not open the cooker until the pressure has dropped to zero.
Remove the weight after the canner has depressurized.
Wait an additional ten minutes.
Unlock the lid and carefully remove.
Removing and Cooling Jars
Using a jar lifter, tongs, or potholders, remove the jars from the canner.
Set them to cool on a rack, spaced well apart, in a place protected from cold drafts.
Cover the jars with clean dry kitchen or bath towels.
Do not try to tighten the lids.
Allow the jars to cool for 12 hours.
Storing Canned Vegetables

You will hear an occasional "click" sound as the jar lids seal during the cooling process.
This is normal!
Before placing your jars in their storage location, check all of the lid for proper sealing.
The center of the jar lid should not "click" when pressed with your finger.
If any of your jars did not seal, put them in the refrigerator for immediate usage.
You Might Also like to Read:
Recent Articles
-
Growing Dill In a Backyard Vegetable Garden
Nov 20, 18 11:40 PM
 Easy tips for growing dill in a home vegetable, kitchen, or herb garden. Learn how to plant, grow, care for, and harvest dill plants when backyard vegetable gardening.
 -
Vegetable Garden Pictures to Help Plan Your Garden
Nov 20, 18 09:53 AM
 Vegetable garden pictures and videos to help you get started planting a garden. Gardening pictures can help you plan your garden whether a raised bed, container, or traditional backyard home garden.
 -
Vegetable Gardening Planting Times, Zone Chart, and Guide for When to Plant
Nov 20, 18 09:51 AM
Use our free zone chart and guide for vegetable gardening planting times, to plan your next garden. Whether planting seeds or transplants, learn when to start.