- Home
- How to Grow Vegetables
- Growing Broccoli
- How to Grow Cauliflower
How to Grow Cauliflower
in a Backyard Vegetable Garden
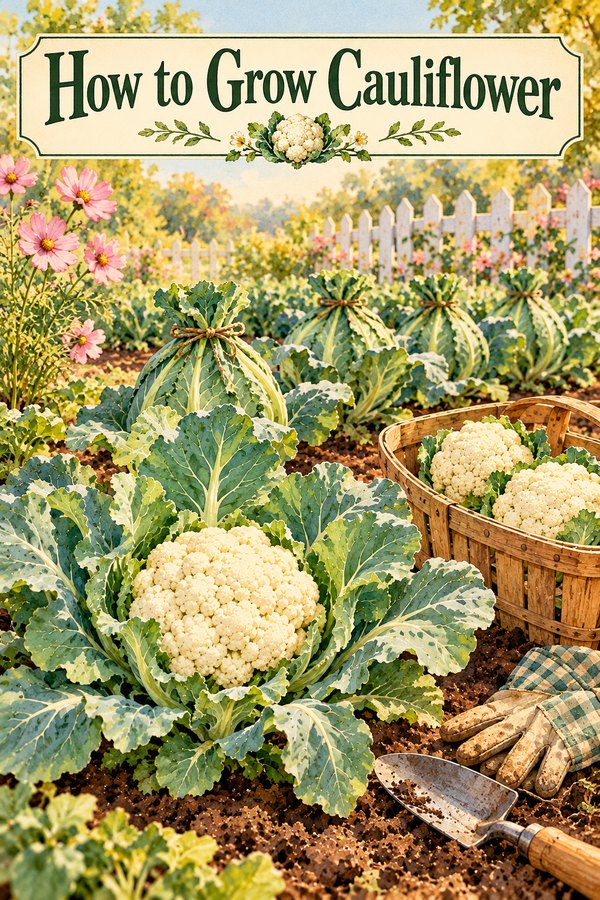
How to grow cauliflower that is white, firm, and full-sized?
It comes down to three things: a good start in cool weather, rich soil with steady water, and tying the leaves over the head at the right time.
Cauliflower is the fussiest member of the cabbage family, but it's well worth the effort.
On this page you'll find when to plant, how to prepare the soil, how to blanch the heads, how to keep pests and clubroot away, and when to harvest.
Growing cauliflower has always been intimidating to me. But several years ago, our neighbor grew the most beautiful cauliflower to sell locally. One day he stopped by and gave me several heads, the largest and most delicious cauliflower I have ever seen or eaten. That taught me it grows very well here in the Willamette Valley, as long as you follow a few important steps.
Cauliflower Family of Plants
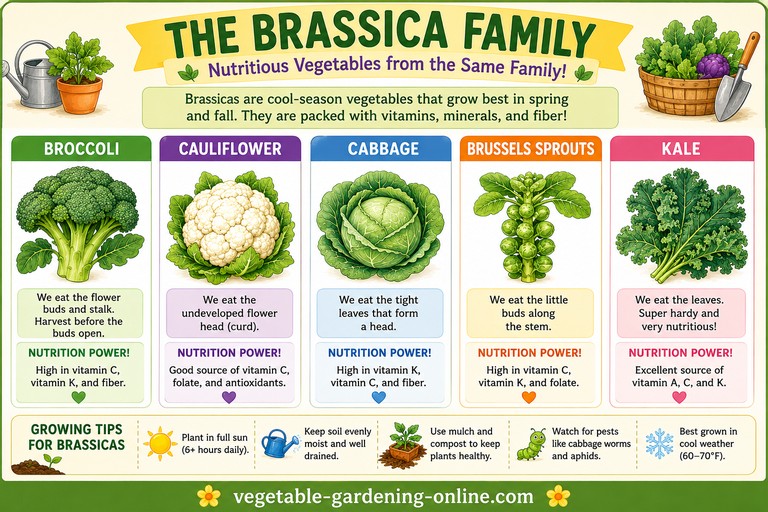 Chart the brassica family of vegetables; broccoli, cauliflower, cabbage, brussels sprouts, and kale.
Like broccoli, cauliflower belongs to the cabbage family, also called brassicas. Other members include cabbage, Brussels sprouts, kale, and collards.
All brassicas like the same conditions: cool weather, rich soil, and steady water. They also share the same pests and diseases, so what you learn here about how to grow cauliflower helps with the whole family.
Cauliflower is the least forgiving of the group. Heat, drought, or a cold snap can stunt it, while broccoli and kale often shrug those off.
How to Grow Cauliflower from Seeds
Cauliflower wants to form its head in cool weather. Heads that form in summer heat turn out small, loose, or bitter. So plan for a spring crop, a fall crop, or both.
Spring crop: Start seeds indoors 4 to 6 weeks before your plants go outside. Set them out in the garden 2 to 3 weeks before your last spring frost. Young plants can handle a light frost, but a long cold snap can make them form tiny heads.
Fall crop: Sow seeds in early summer, about 10 to 12 weeks before your first fall frost, and set the plants out in midsummer. Heads then form in the cool days of autumn. In the Willamette Valley, the fall crop is often the best one.
Sowing: Plant seeds ¼ to ½ inch deep in pots of seed-starting mix. About 18 seeds will give you a dozen strong plants, with spares for any that don't come up.
Growing on: Give the seedlings bright light. When they have their first true leaves, move them into individual cells or six-packs. A week before planting out, harden them off by setting them outdoors a few more hours each day.
Not sure of your frost dates? Our free Personalized Planting Calendar works them out from your zip code.
Cauliflower Transplants

You can also purchase small cauliflower transplants from your local garden center in time for spring/early summer planting.
Soil Preparation for Cauliflower

Cauliflower is fussier than broccoli. Any check in growth from cold, dry soil, or hunger can make it form a tiny, early head, called "buttoning." Rich soil and steady water are the secret to big, white heads.
Compost: Dig 2 inches of compost or well-aged manure into the bed before planting.
Fertilizer: Work in an all-purpose fertilizer such as 10-10-10 at about 2 pounds per 100 square feet. Feed again with a little nitrogen fertilizer 3 to 4 weeks after planting.
Lime: Test your soil. Cauliflower likes a pH of 6.5 to 7.2. If your soil is acid, add garden lime at the rate your soil test suggests. Sweeter soil also helps keep clubroot away.
Spacing: Set hardened-off plants 18 inches apart in rows 30 to 36 inches apart.
Water: Give about 1 to 1½ inches of water a week, and never let the bed dry out. A layer of mulch keeps the soil cool and moist.
Getting the soil right is the most important part of learning how to grow cauliflower.
Companion Planting Cauliflower

You can set lettuce seedlings in between your cauliflower crop.
The lettuce will be ready for harvesting before the growing cauliflower needs the room to grow.
Cauliflower Pests and Diseases
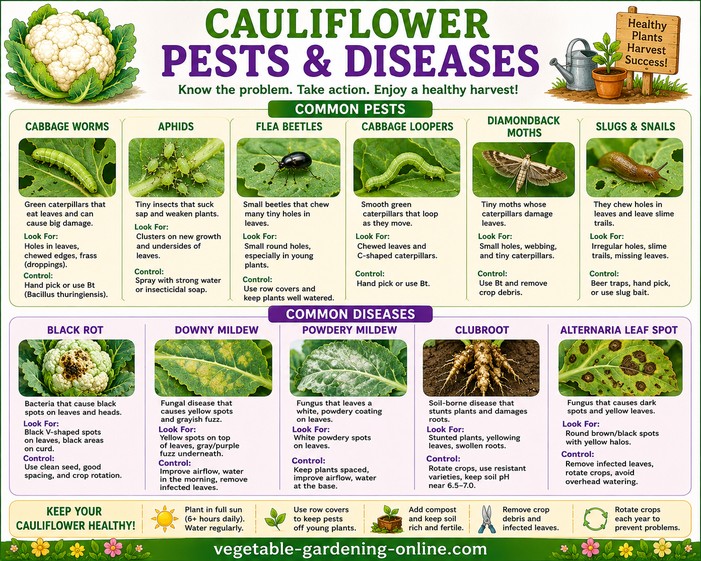
Start watching for pests as soon as you plant. Cauliflower shares its pests with broccoli, cabbage, and kale, so the same care protects all of them.
Cover the plants first. A floating row cover put on right after planting, with the edges tucked into the soil, keeps out cabbage moths, root maggot flies, and flea beetles. Leave it on until the weather turns hot or the plants fill the cover.
Cabbage worms: These green caterpillars chew holes in the leaves and hide in the head. Pick them off, or spray with Bacillus thuringiensis (Bt) every 7 to 10 days and after rain. Bt only harms caterpillars.
Cutworms: Put a cardboard or plastic collar around each stem at planting time, pushed an inch into the soil.
Root maggots: These small white maggots tunnel into the roots, and the plants wilt and stunt. A row cover sealed at the soil, plus a root maggot mat (a felt or cardboard disc) around each stem, keeps the flies from laying eggs.
Aphids: Knock them off with a strong spray of water, or use insecticidal soap.
Clubroot: This is the most serious disease of the cabbage family. It lives in the soil, and its spores can stay there for many years. Infected plants wilt on warm afternoons even when the soil is damp, then turn yellow and stop growing. Pull one up and you will see swollen, twisted roots. There is no cure once a plant has it.
How to prevent clubroot: Test your soil and add lime to raise the pH to about 7.2. Clubroot does poorly in sweet soil. Give the bed good drainage. Don't plant any cabbage-family crop in the same spot for at least 4 years. Start your own seedlings or buy healthy transplants. Pull infected plants, roots and all, and put them in the trash, not the compost pile.
When you know how to grow cauliflower with row covers and good rotation, you rarely need any spray at all.
How to Blanch Cauliflower
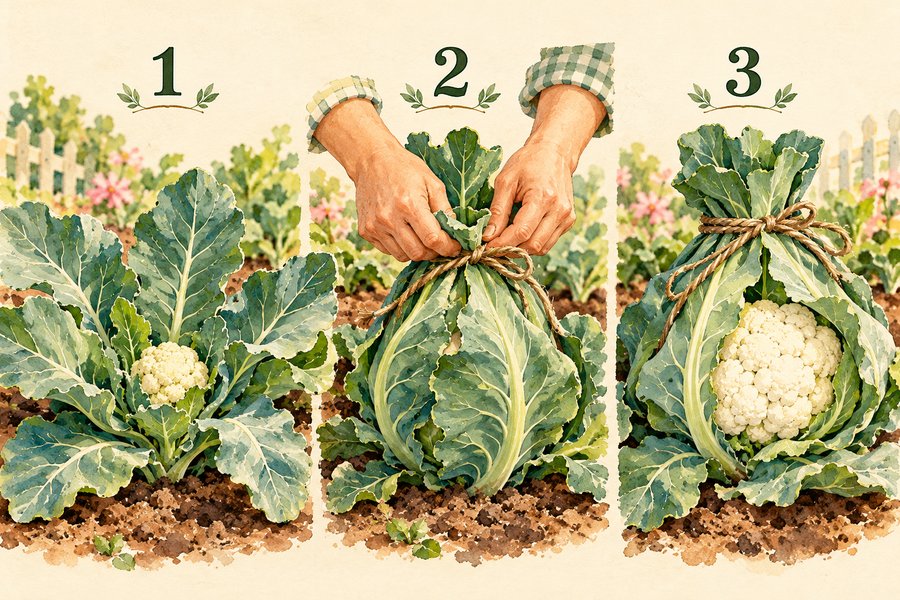
Blanching is the one job that sets cauliflower apart from broccoli. Sunlight turns the head (the curd) yellow or brownish and gives it a stronger taste. Shading it keeps it snowy white and mild.
When to do it: Watch for the small head to appear in the center of the plant. When it is about 2 to 3 inches across, about the size of an egg, it is time.
How to do it: On a dry day, gather the big outer leaves up over the head and tie them loosely with garden twine, a rubber band, or a clothespin. Leave a little room so air can move and the head can keep growing.
Check every few days: Peek inside to see how the head is growing and to make sure no water or cabbage worms are trapped in there.
Skip this step: Some kinds don't need tying. Self-blanching varieties curl their own leaves over the head. Colored cauliflowers, such as purple 'Graffiti', orange 'Cheddar', and green Romanesco, keep their color in the sun.
Blanching takes only a minute per plant, and it is a big part of how to grow cauliflower that looks like the ones at the store.
Harvesting Cauliflower
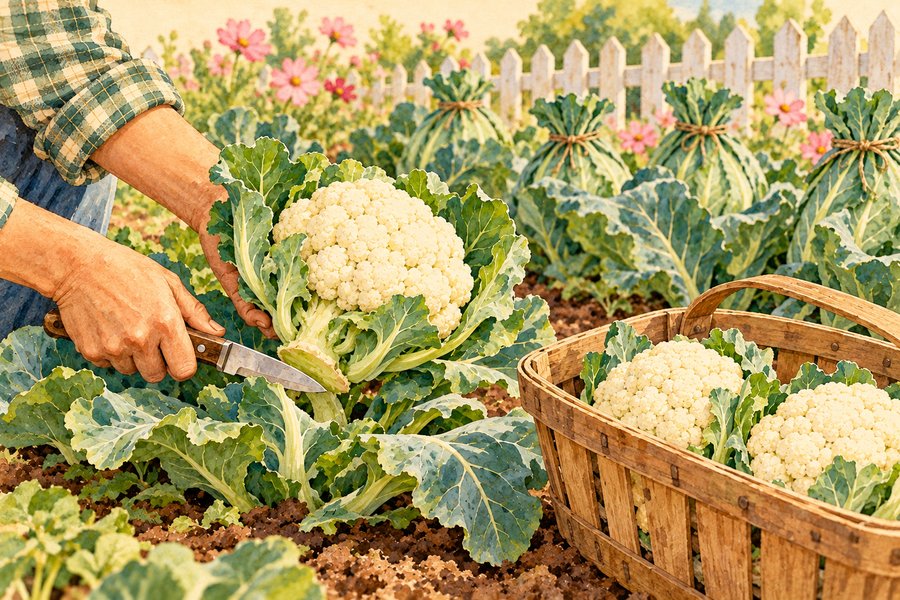
Cauliflower is ready about 50 to 100 days after planting out, depending on the variety. In warm weather, a tied head is usually ready 7 to 12 days after you tie it. In cool fall weather, it can take 2 to 3 weeks.
When to pick: Cut the head while it is firm, smooth, and tight, usually 6 to 8 inches across. Don't wait for it to grow bigger. Once the curds start to loosen, look grainy, or turn yellow, the head is past its best.
How to pick: Cut the main stem just below the head with a sharp knife, and leave a few leaves around it to protect it on the way to the kitchen. Unlike broccoli, cauliflower doesn't grow side shoots, so pull the plant after harvest and add it to the compost (but not if it had clubroot).
Storing: Keep the head unwashed in a plastic bag in the refrigerator for up to a week.
Freezing: Cut the head into 1-inch pieces, blanch them in boiling water for 3 minutes, cool them in ice water, drain, and freeze.
A crisp, white head picked at just the right time is the reward for learning how to grow cauliflower.
Want to freeze or pickle your harvest? The National Center for Home Food Preservation has tested, safe directions for freezing and pickling cauliflower.
Return to our Growing Broccoli hub for complete guides to broccoli, cabbage, cauliflower, and Brussels sprouts.
- Growing Broccoli — complete guide to broccoli, cabbage, cauliflower, and Brussels sprouts

Recent Articles


-
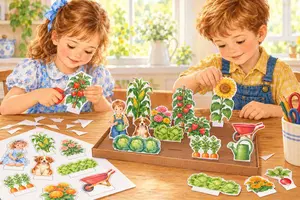
Paper Garden Craft for Kids: How Does Your Garden Grow? Free Printable
Oct 15, 26 11:05 AM
 Free printable paper garden craft for kids: cut out plants, children, a puppy, and a kitten, then plant them in a paper raised bed that stands on the table.
-
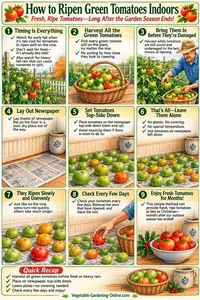
How to Ripen Green Tomatoes Indoors
Oct 14, 26 04:11 PM
 Ripen green tomatoes indoors with a simple newspaper method. Learn when to pick, where to place them, and how to keep fresh ripe tomatoes coming for weeks.
-
Free Vegetable Garden Printables — Downloads for Every Gardener
Oct 14, 26 12:29 PM
 Browse our complete library of free vegetable garden printables, from planning worksheets and growing charts to kids' activities, all free to download & print.
-
Free Printable Return Address Labels: Garden and Christmas
Oct 14, 26 12:11 PM
Free printable return address labels with watercolor garden and Christmas designs. Type your address, pick a picture, and print on Avery 5160 label sheets. -
Free Printable Gift Stickers: Christmas and Garden Designs
Oct 14, 26 11:58 AM
Free printable round gift stickers with watercolor garden and Christmas pictures. Add a message or To and From, and print on 2-inch labels at home. -
Free Printable Place Cards: Thanksgiving, Christmas, and Parties
Oct 13, 26 01:46 PM
Free printable place cards for Thanksgiving, Christmas, birthdays, tea parties, and garden parties. Type your guest list, pick a picture, and print. -
Free Printable Garden Stationery: Gardening Letter Paper & Note Cards
Oct 13, 26 09:58 AM
Free printable garden stationery: watercolor letter paper, lined and unlined, plus folded note cards with garden, fall, and Christmas scenes. Print at home.