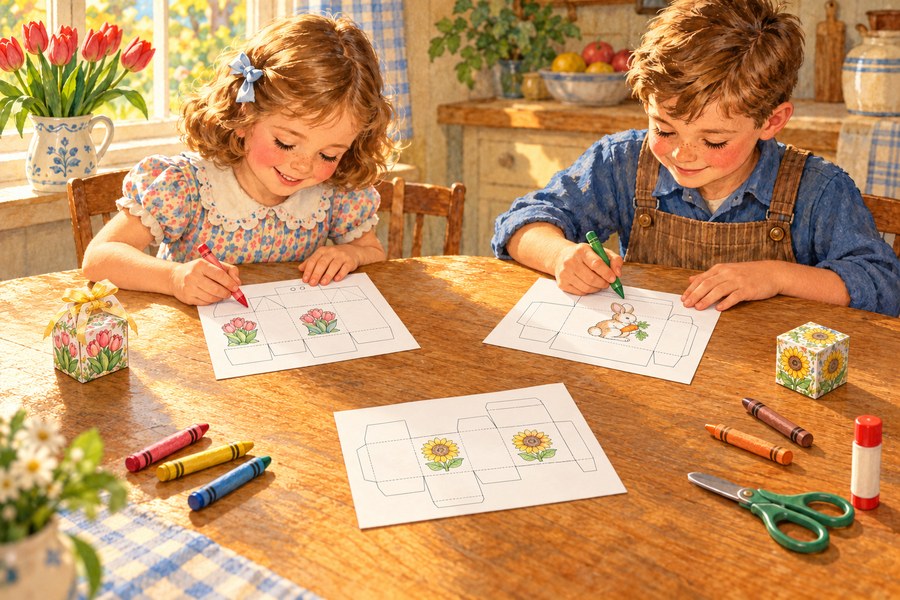
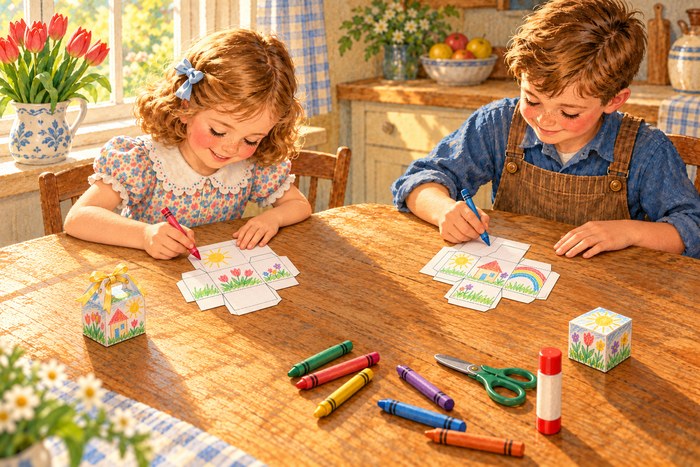
A simple paper box craft for kids that makes a real little box. Pick a square box, a box with a lid, or a gable box. Color a garden picture, choose a pretty paper, or print it blank to decorate any way you like. Then cut, fold, glue, and fill it with a gift.
1
Choose a box
2
Choose a look
Color your own prints in black and white for crayons, colored pencils, or markers. Pretty papers print in color. Blank prints just the box, to draw on.
3
Print
Use white 65 lb cardstock. The box prints sideways (Landscape). In the print window, choose Actual size or Scale 100%, not "Fit to page," and turn off headers and footers. One box prints on each sheet.
Greetings for your box (optional)
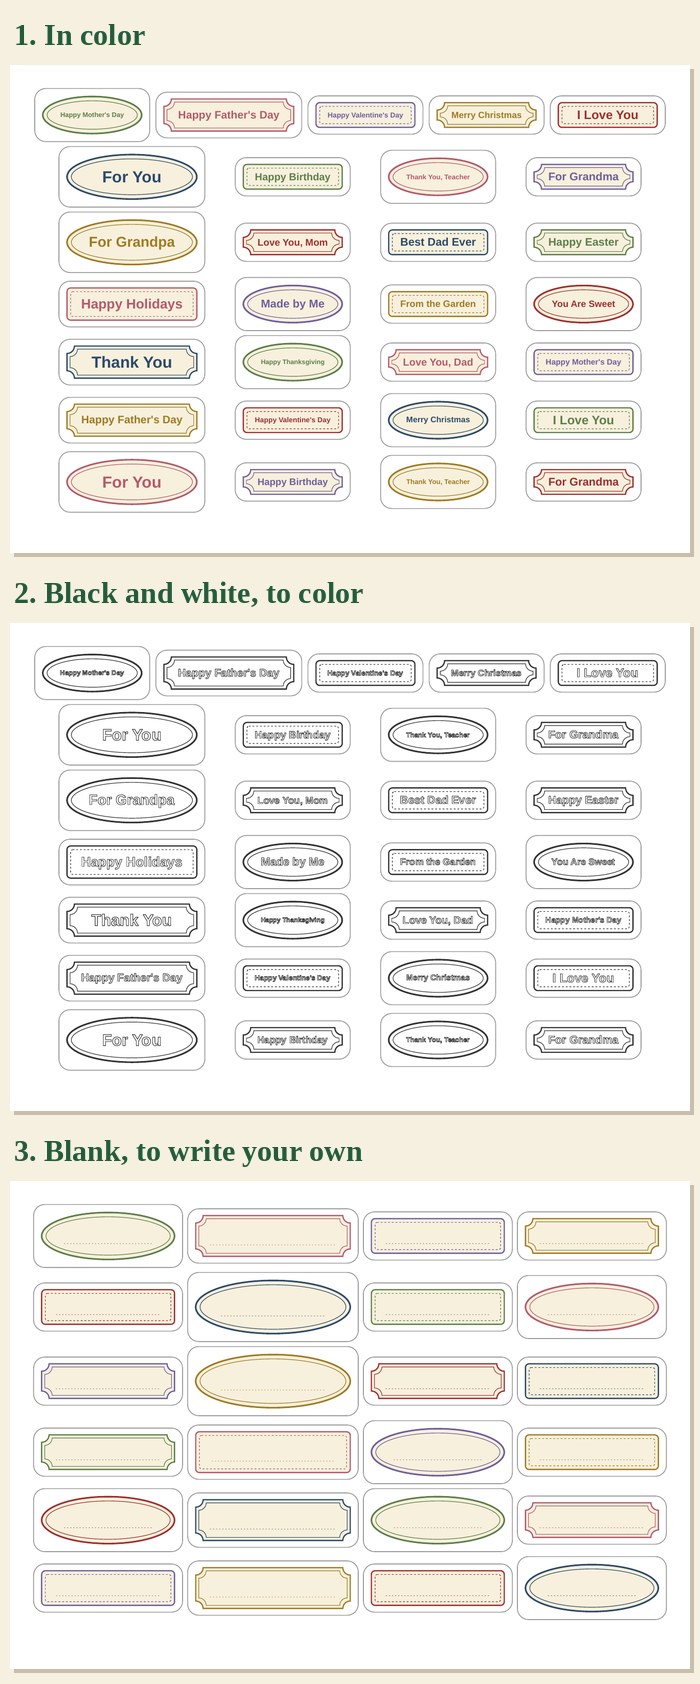
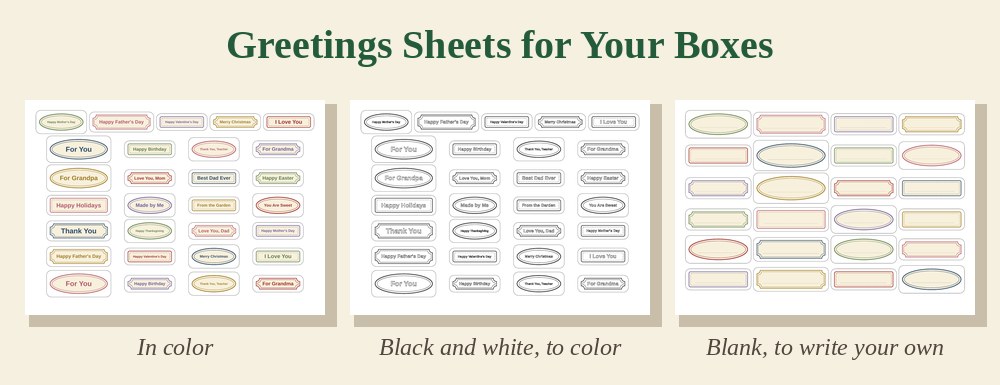
Print a sheet of little greetings such as Happy Mother's Day, Merry Christmas, and Happy Valentine's Day. Cut one out and glue it on, or stick it on with foam tape so it stands up from the box. Teachers: type each child's name, one per line, for name labels.
Color
Lettering
Your box
Your sheet
🔒
Everything stays private. Nothing you type is sent to this website or saved anywhere online.
Print greetings in color, in black and white to color, or blank to write your own. Choose them in step 3, under the Print button.
A Paper Box Craft Kids Can Do Themselves
When my nine-year-old niece came to visit, she spotted the gable box on my table and wanted to make one right away. She cut it out by herself, scored the lines, glued it, and tied it shut with a ribbon.
The next day she tried to draw her own box on plain paper. The bottom flaps didn't line up, and it wouldn't fold together. So she asked me to print a blank one she could color, plus two more for the cousins she was visiting that afternoon.
That's how this page began. The templates do the hard measuring, so children get a box that folds up right the first time.
What You Need
Cardstock: white 65 lb cardstock, or heavy paper.
Crayons, colored pencils, or markers: for the Color Your Own boxes.
Scissors: child-safe scissors work fine for the straight lines.
A ruler and a butter knife: for scoring the fold lines. An empty ballpoint pen works too.
A glue stick or white glue: a glue stick is less messy for little hands.
For the gable box: a hole punch and a piece of ribbon, yarn, or raffia.
How to Make a Paper Box
Choose Blank to draw your own pictures on the box.
Color it first. Color the box while it's still a flat sheet. It's much easier than coloring a folded box.
Score the dashed lines. Lay a ruler along each dashed line and press along it with a butter knife. This makes the folds neat and straight.
Cut on the solid lines. Scoring first is easier, because small flaps slip under the ruler once they're cut out. You can score after cutting too; just hold the little flaps firmly. Then cut slowly around the little flaps.
Fold every dashed line. Fold each one back and forth once, so it bends easily.
Glue the side flap. Put glue on the narrow flap and press it inside the last side. Hold it while you count to twenty. For the box with a lid, glue each little corner flap inside the next wall.
Wait until the glue is dry. Then close the box, tuck in the ends, or tie the gable box shut with a ribbon through the holes.
Add a greeting (optional). Print a greetings sheet (step 3 in the maker), cut out a greeting, and glue it on the box. For a raised message that stands up from the box, a grown-up can help attach it with foam tape or foam dots instead.
How to Make the Gable Box
Score all the dashed lines first, then cut out the box.
Fold every dashed line, including the V-shaped folds on the sides.
Glue the side flap and the bottom. Let the glue dry thoroughly.
Punch the holes in the two top pieces.
Press the top pieces together and tie them with a ribbon.
Push the V-shaped sides in last. Because they're already scored and folded, they slip into place easily.
Grown-Ups Help With
Scoring: young children may need a hand holding the ruler still.
Glue: a little glue goes a long way. Too much makes the box soggy.
The gable top: showing how the side triangles push in, and punching the holes.
Which Box for Which Age?
Square box: ages 5 and up, with a grown-up nearby. The easiest one.
Box with a lid: ages 7 and up. Two pieces to cut and fold.
Gable box: ages 8 and up. My niece made hers by herself at nine.
Paper Gift Boxes for the Classroom
Three kinds of greetings sheets: in color, in black and white to color, and blank to write your own.
Teachers can print one box for each child for a Mother's Day, Father's Day, Valentine's Day, or Christmas gift. Plan about 30 to 45 minutes, with coloring time.
Print a greetings sheet to finish the boxes. Type each child's name, one per line, for name labels, choose black and white so children can color the letters, or print blank labels so they can write their own message.
What to Put Inside: A Gift from the Garden
A paper box is just right for a gift a child grew or picked. Here are some ideas:
Flower or vegetable seeds: a spoonful of sunflower, zinnia, or bean seeds for Mom or Grandma to plant. Add one of our free printable seed packets.
A tiny plant: the square box holds a small pot of herbs or a bean sprout from the bean in a jar experiment.
Treats: homemade cookies, candy, or strawberries from the garden.
A note: a folded drawing or a little message.
Seeds make a gift that keeps growing. Big seeds like sunflowers, beans, and peas are easy for small hands to plant in spring. See our tips on gardening with children.
What paper works best?
White 65 lb cardstock. Regular printer paper is too thin and the box will be floppy.
Can I print it in black and white?
Yes. The Color Your Own and Blank boxes are black and white, so they save colored ink.
How big are the boxes?
The square box is a 2¼ inch cube. The box with a lid is 3 by 3 by 1½ inches. The gable box is 2½ by 2 by 2¾ inches, plus the handle.
Can I use it on my phone?
It works best on a computer connected to your printer, where you can choose landscape and Actual size.