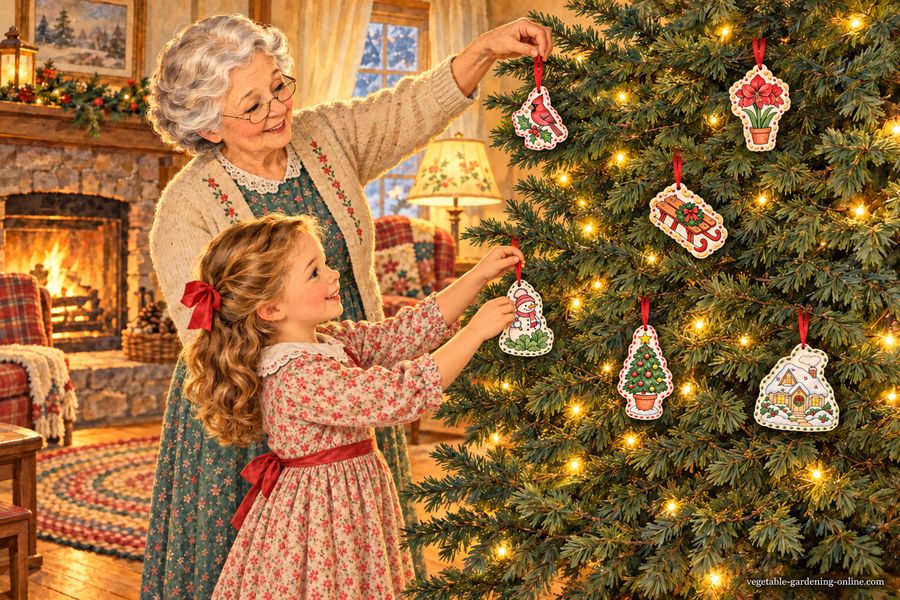
These free printable Christmas ornaments come in two groups: old-fashioned Christmas toys, like a rocking horse, an angel, and a jack-in-the-box, and winter garden pictures, like a snowman in the garden and a cardinal on holly. Print a front and a matching back, color them, glue them together, and trim the edge with yarn, beans, noodles, or jewels.
1
Choose your ornaments
There are two sets: in color, ready to lace, and color your own, in black and white for children to color. Click any ornaments you like from either set.
🎨 In color
🖍️ Color your own
2
Choose the back
Each ornament prints as a front and a matching back, two pieces on one sheet. Glue them back to back, and the edges line up.
3
Print
The pictures couldn't load. Look for the cookie bar at the bottom of the page and click Accept and continue. Then click Print again.
Pictures print blank? Click Accept and continue on the cookie bar at the bottom of the page, then print again.
Use white 65 lb cardstock. Choose Actual size or Scale 100%, and turn off headers and footers. Each ornament is about 4 inches tall. Cut on the gray lines. The dots are for lacing (punch them with a hole punch) or for dabs of glue to hold beans, noodles, or jewels. The top dot with a ring is for the ribbon loop.
Want the next free printable first? My short garden email, Get the Dirt, comes Saturday mornings. Sign Up for My Free Newsletter
Sheet 1
✂️
Easy to cut.Every card has one smooth, rounded cut line, with no fiddly little bumps.
How to Make Free Printable Christmas Ornaments
Choose your ornaments. Pick old-fashioned Christmas toys, like a rocking horse, an angel, a party doll, a rag doll, a jack-in-the-box, a spinning top, and a dirt bike, or winter garden pictures, like a snowman in the garden, a cardinal on holly, and a Christmas tree. Each comes in color or in black and white to color.
Choose the back. Each ornament prints as a front and a matching back on one sheet. Pick the same picture for the back, or a "Made with love by" back with the child's name and the year.
Print on cardstock. White 65 lb cardstock makes a sturdy ornament. Each one is about 4 inches tall.
Color the pictures with crayons, colored pencils, or markers.
Cut out both pieces on the gray line, then glue them back to back with a glue stick. Press them under a heavy book for a few minutes so they dry flat.
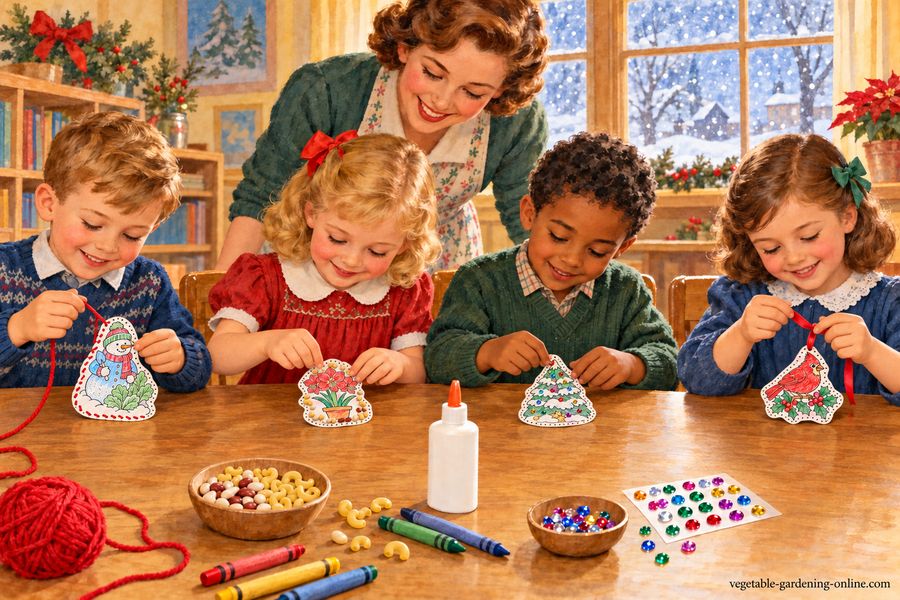
Decorate the edge. Punch the dots and lace them with yarn or narrow ribbon, or put a dab of white glue on each dot and press on a dried bean, a macaroni noodle, or a stick-on jewel.
Hang it. Punch the dot with the red ring at the top, and tie a loop of ribbon through it.
Three Ways to Trim the Edge
Laced with yarn: punch every dot and lace red or green yarn in and out all the way around. Tie a bow at the top.
Beans and noodles: my daughter used the dots as marks for little dabs of white glue, then pressed on dried beans and uncooked noodles all the way around. It reminded her of the ornaments she made for our family tree in grade school.
Jewels and glitter: stick-on gems on the dots, or a line of glue around the edge sprinkled with glitter, for an ornament that sparkles in the tree lights.
Did you print something from this site?
I would love to hear about it! Tell me how you used your ornaments, crowns, or garlands, or send a photo if you have one.
Teachers: this is an easy take-home craft for kindergarten, first, and second grade. One sheet makes one ornament, and children are proud to bring home something they made themselves.
Choose the "Made by" back and type each child's name before you print, one sheet at a time, or leave the name blank and let the children write their own. Parents keep ornaments like these for years.
Kindergarten: cut out the pieces ahead of time, and let the children color, glue, and add beans or jewels.
First and second grade: children can cut on the smooth gray line themselves and lace the edges with yarn.
Supplies: crayons, glue sticks, white glue, yarn or ribbon, and a bowl of dried beans and noodles. A hole punch is a grown-up job.
A Homemade Christmas Gift for a Child
Instead of another toy, give a child a craft kit you put together yourself. Print a stack of the black and white ornaments, and tuck them into a gift box or basket with a new box of crayons, a few colors of yarn, and some ribbon.
It's a gift that turns into an afternoon together. Grandmas, aunts, and godparents can color and lace right alongside, and the finished ornaments go on the tree year after year.
Winter in the Garden
Every ornament comes from the winter garden: a snowman standing guard over the kale, a cardinal on holly, the bird feeder, a snowy greenhouse, and the red tractor waiting for spring.
An amaryllis is the flower of a gardener's Christmas. Plant the big bulb in a pot in early November, set it in a sunny window, and it blooms in about six to eight weeks. Our winter vegetable gardening guide tells what keeps growing outside in the cold, and our free printable 2027 garden calendar makes a nice gift to go with your ornaments.
What paper should I use?
White 65 lb cardstock. Printer paper works if you glue the front and back together, which makes it stiffer.
What ages are these ornaments for?
Children about 4 to 8 can color, glue, and decorate them, with a grown-up punching the holes. Dried beans, noodles, and jewels are small, so keep them away from toddlers.
Why is the back printed backward?
The back is a mirror image of the front, so when you glue the two pieces together, the edges and the dots line up.
Can I use it on my phone?
It works best on a computer connected to your printer, where you can choose Actual size.